Chewy Sourdough Discard Brownies
Highlighted under: Sweet Baking Essentials
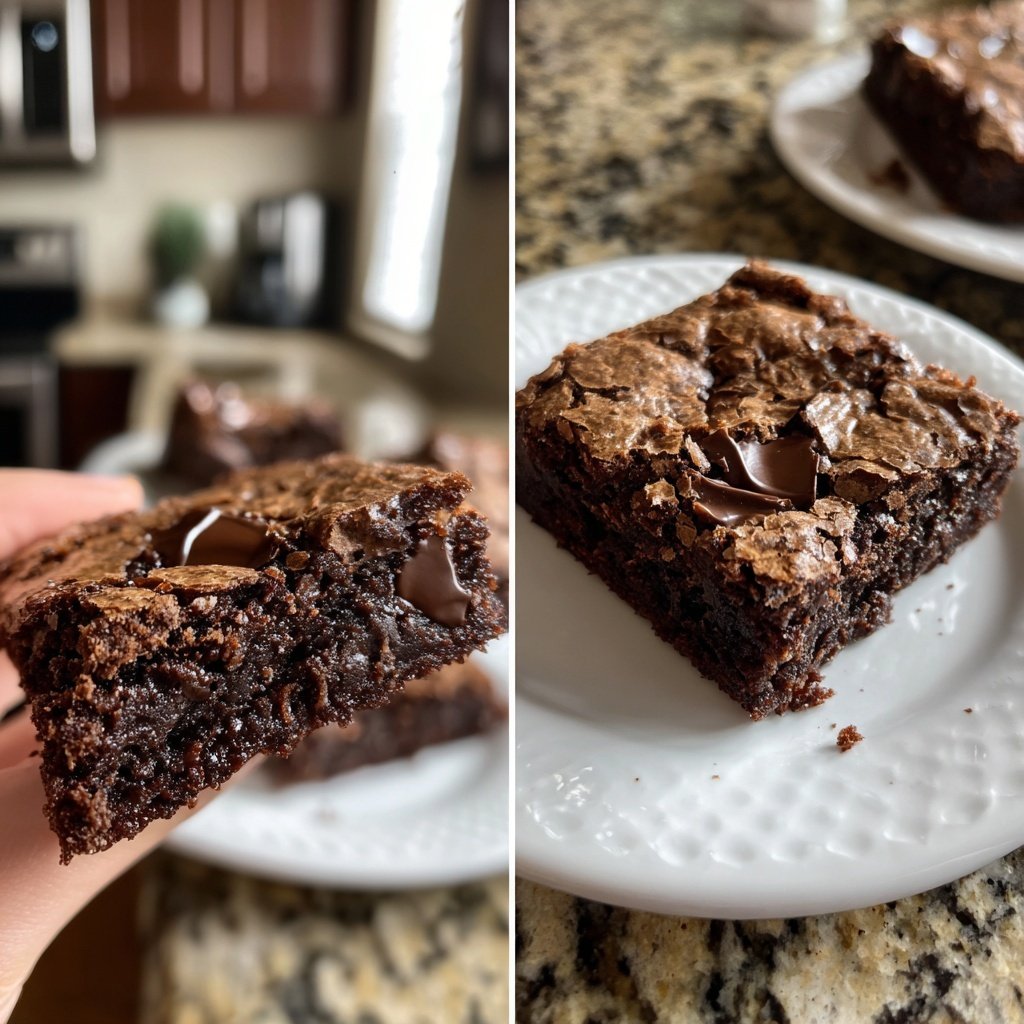
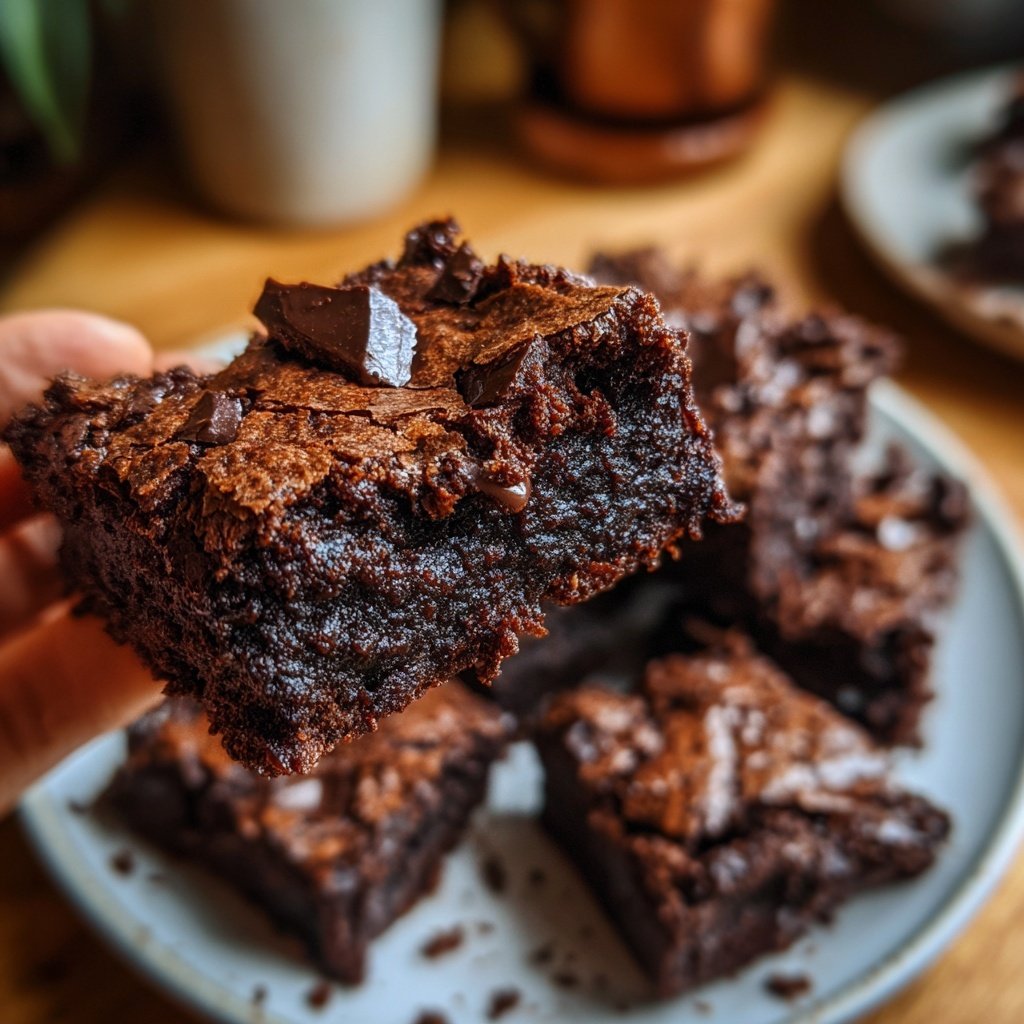
I always look for ways to reduce waste in my kitchen, and that’s how I stumbled upon these delicious Chewy Sourdough Discard Brownies. Using sourdough discard not only gives these brownies a unique depth of flavor, but it also adds an incredible chewy texture that I just can't resist. Each bite is a combination of rich chocolatey goodness paired with that tangy hint from the sourdough. It’s a guilt-free treat that celebrates both my love for baking and sustainability!
When I first experimented with my sourdough discard, I was surprised at how versatile it could be in the baking world. The very first batch of brownies was an eye-opener for me: they balanced that delightful chewiness with a rich, fudgy texture that I had never achieved before. The slight tang from the sourdough enhances the chocolate in such a beautiful way, making each bite interesting and satisfying.
One key thing I learned is to not overmix the batter. By mixing just until combined, you keep the brownies tender. I also discovered that adding a pinch of sea salt on top before baking intensifies the flavor of the chocolate. These brownies are a hit every time, and I love sharing this recipe with friends who are also looking to use up their sourdough starter!
Why You Will Love This Recipe
- Rich chocolate flavor complemented by the unique tang of sourdough discard
- Irresistibly chewy texture that satisfies every chocolate craving
- A simple way to reduce kitchen waste while indulging in a delicious treat
Understanding Sourdough Discard
Sourdough discard is the delicious byproduct of maintaining a sourdough starter. Rather than letting it go to waste, incorporating it into brownies not only minimizes waste but also infuses the baked goods with a rich depth of flavor. The naturally occurring bacteria and yeast enhance the brownies' texture and create a subtle tang that perfectly contrasts the sweetness of the chocolate. If you’re unsure how long your discard can last, store it in the fridge for up to a week before using it.
The secret to achieving that signature chewy texture lies in the balance of flour and cocoa powder in this recipe. The proteins in the flour contribute to the structure, while the fat from the melted butter and the moisture from the sourdough create a beautifully moist and dense brownie. Always ensure your butter is melted and slightly cooled before mixing; this prevents the eggs from curdling and helps maintain a smooth batter.
Perfecting the Baking Process
When it comes to baking, the texture is key for these brownies. You’ll know they are ready when a toothpick inserted into the center comes out with a few moist crumbs clinging to it. Avoid the temptation to overbake, as this will lead to dry brownies. If the edges start to pull away from the pan and appear set while the center remains a bit soft, it’s time to take them out. Remember, they will continue to firm up as they cool in the pan.
Allowing the brownies to cool in the pan before transferring them to a wire rack is essential for achieving the best texture. The cooling time allows them to set properly, making it easier to cut into clean squares. If you prefer warm brownies, you can enjoy them fresh out of the oven, but be aware they will be more fragile and might not hold their shape as well until fully cooled.
Ingredients
Ingredients
For the Brownies
- 1 cup sourdough discard
- 1/2 cup unsalted butter, melted
- 1 cup granulated sugar
- 2 large eggs
- 1 teaspoon vanilla extract
- 1/2 cup all-purpose flour
- 1/2 cup unsweetened cocoa powder
- 1/4 teaspoon salt
- 1/2 cup chocolate chips (optional)
Instructions
Instructions
Preheat and Prepare
Preheat your oven to 350°F (175°C). Grease a 9x9 inch baking pan or line it with parchment paper.
Mix Wet Ingredients
In a large bowl, whisk together the melted butter and sugar until smooth. Add in the sourdough discard, eggs, and vanilla extract, and mix until fully incorporated.
Combine Dry Ingredients
In another bowl, sift together the flour, cocoa powder, and salt. Gradually fold the dry ingredients into the wet mixture until just combined. Be careful not to overmix.
Add Chocolate Chips
If using, fold in the chocolate chips until evenly distributed throughout the batter.
Bake
Pour the batter into the prepared baking pan and spread evenly. Bake for about 25-30 minutes or until a toothpick inserted in the center comes out with a few moist crumbs.
Cool and Serve
Let the brownies cool in the pan for at least 10 minutes before transferring to a wire rack. Once cooled, cut into squares and enjoy!
Pro Tips
- For extra fudginess, try swirling in some peanut butter or almond butter before baking! You can also experiment with various mix-ins, such as nuts or caramel bits, to give your brownies a unique twist.
Storage and Make-Ahead Tips
These brownies can be stored in an airtight container at room temperature for up to four days, maintaining their chewy texture. If you want to keep them longer, consider freezing them. Cut the brownies into squares, wrap each piece in plastic wrap, and then place them in a freezer-safe bag. They can last up to three months in the freezer.
When you’re ready to enjoy the frozen brownies, simply let them thaw at room temperature for about 30 minutes, or pop them in the microwave for 10-15 seconds for a freshly baked treat feel. Just be careful not to overheat them, or you might lose that delightful chewiness!
Delicious Variations
Feel free to experiment with your Chewy Sourdough Discard Brownies by adding mix-ins. For a nutty crunch, consider folding in chopped walnuts or pecans with the chocolate chips. You can also try substituting half the granulated sugar with brown sugar for a richer flavor and moister texture.
If you want to create a more decadent chocolate experience, swap out the cocoa powder for dark cocoa powder or even add a layer of peanut butter or caramel in the center before baking. These variations offer endless possibilities to customize your brownies to fit your taste and mood!
Questions About Recipes
→ Can I use older sourdough discard for this recipe?
Yes, older sourdough discard works great, as long as it’s still safe to use and does not have off smells.
→ Can I substitute the butter for oil?
Yes, you can substitute melted coconut oil or any neutral oil if you prefer a dairy-free version.
→ How should I store the brownies?
Store the brownies in an airtight container at room temperature for up to 3 days, or refrigerate for a week.
→ Can I freeze these brownies?
Absolutely! Wrap them tightly in plastic wrap and freeze for up to 3 months. Thaw at room temperature before serving.
Chewy Sourdough Discard Brownies
Created by: Skylar Jennings
Recipe Type: Sweet Baking Essentials
Skill Level: Intermediate
Final Quantity: 16 brownies
What You'll Need
For the Brownies
- 1 cup sourdough discard
- 1/2 cup unsalted butter, melted
- 1 cup granulated sugar
- 2 large eggs
- 1 teaspoon vanilla extract
- 1/2 cup all-purpose flour
- 1/2 cup unsweetened cocoa powder
- 1/4 teaspoon salt
- 1/2 cup chocolate chips (optional)
How-To Steps
Preheat your oven to 350°F (175°C). Grease a 9x9 inch baking pan or line it with parchment paper.
In a large bowl, whisk together the melted butter and sugar until smooth. Add in the sourdough discard, eggs, and vanilla extract, and mix until fully incorporated.
In another bowl, sift together the flour, cocoa powder, and salt. Gradually fold the dry ingredients into the wet mixture until just combined. Be careful not to overmix.
If using, fold in the chocolate chips until evenly distributed throughout the batter.
Pour the batter into the prepared baking pan and spread evenly. Bake for about 25-30 minutes or until a toothpick inserted in the center comes out with a few moist crumbs.
Let the brownies cool in the pan for at least 10 minutes before transferring to a wire rack. Once cooled, cut into squares and enjoy!
Extra Tips
- For extra fudginess, try swirling in some peanut butter or almond butter before baking! You can also experiment with various mix-ins, such as nuts or caramel bits, to give your brownies a unique twist.
Nutritional Breakdown (Per Serving)
- Calories: 300 kcal
- Total Fat: 16g
- Saturated Fat: 9g
- Cholesterol: 60mg
- Sodium: 75mg
- Total Carbohydrates: 36g
- Dietary Fiber: 2g
- Sugars: 22g
- Protein: 4g